Grab and go clutch crochet pattern
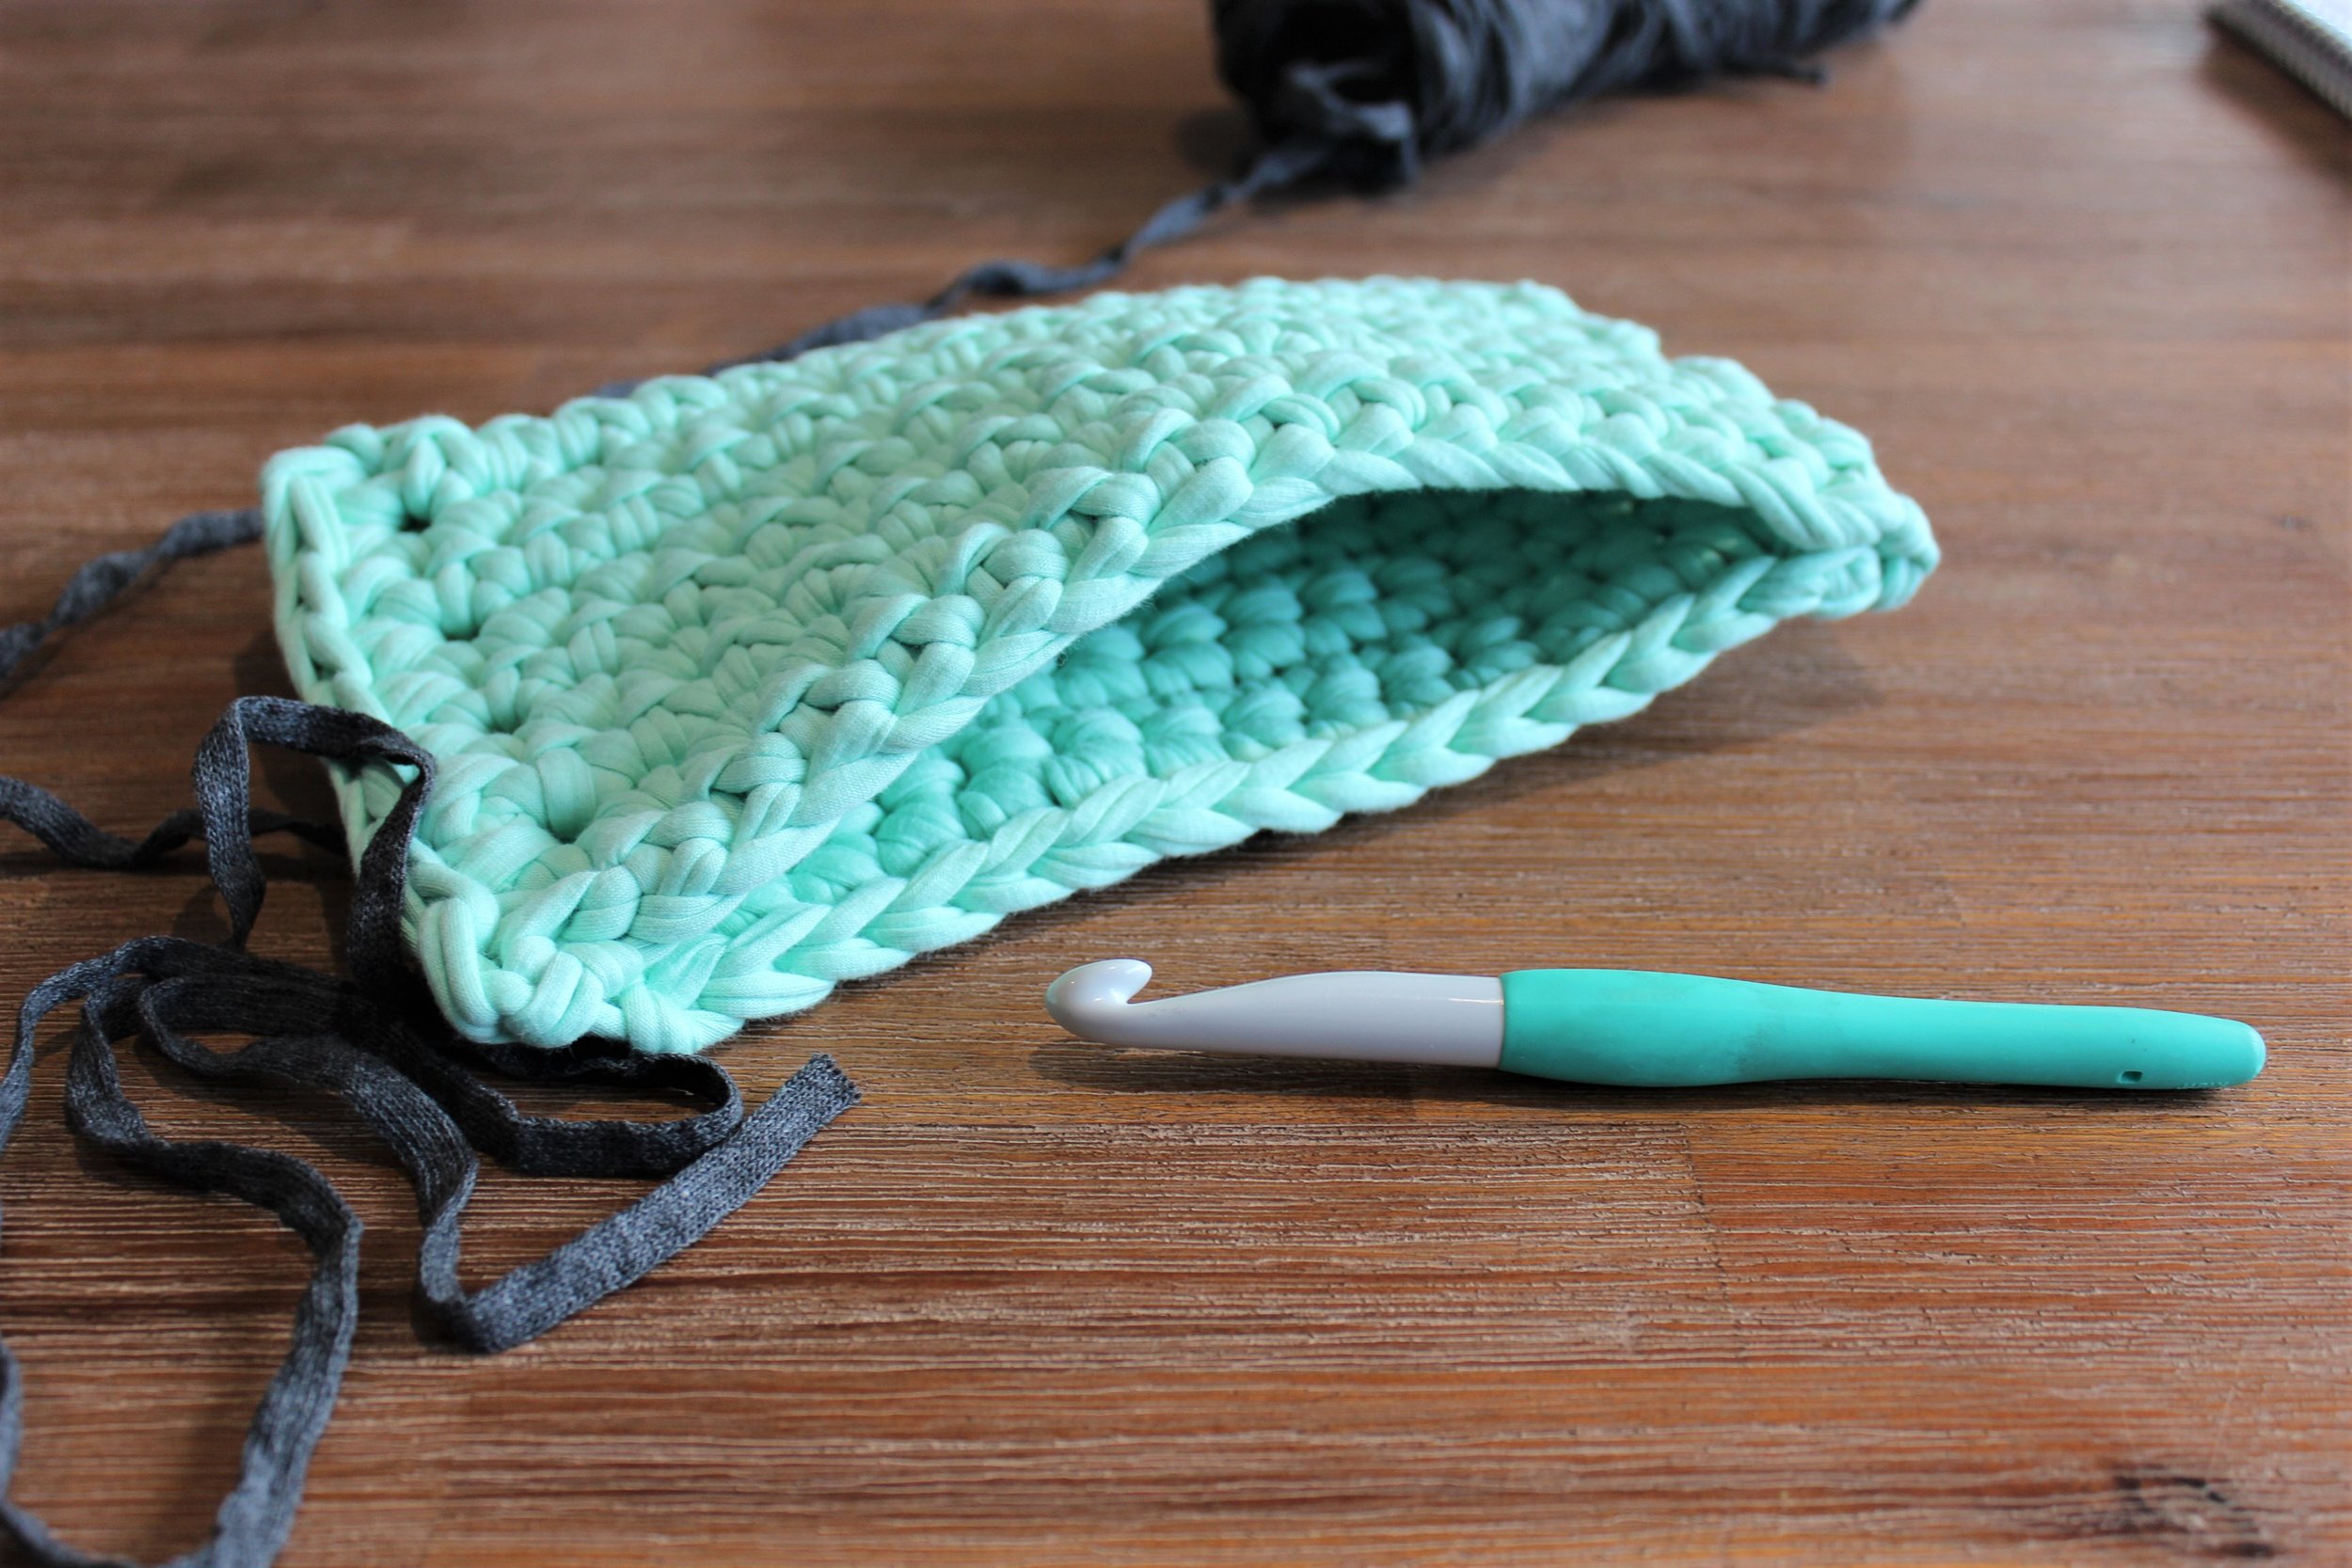
Fabric yarn is a favourite of mine. I love how hard wearing and sturdy it is. And oh how I love these clutch purses! They are quick and easy to whip up as you use chunky t-shirt yarn which makes it hard wearing, sturdy and modern!
This pattern suits beginners who are looking to make something other than a granny square! It uses only the chain, double crochet and double crochet decrease (dc2tog). (I use UK technology in this pattern)
Stitches used:
DC - Double Crochet - insert hook, yarn over, pull through, yarn over, pull through 2 loops.
DC2TOG - Double Crochet decrease - inset hook, yarn over, pull through to front of work, insert hook into next stitch, yarn over and pull through to front of work, yarn over and pull through all loops on hook.
Materials used:
For the main part of this pattern you will need Hoooked Zpaghetti yarn, or a similar t-shirt yarn, a size 12mm hook and a needle specifically for -shirt yarn (due to it's thickness) for sewing in ends.
For the flap you will need a second colour (as my charcoal t-shirt yarn was thinner, I used a size 10mm hook for the flap.
Fasteners such as a button or magnetic clasp.
Pattern:
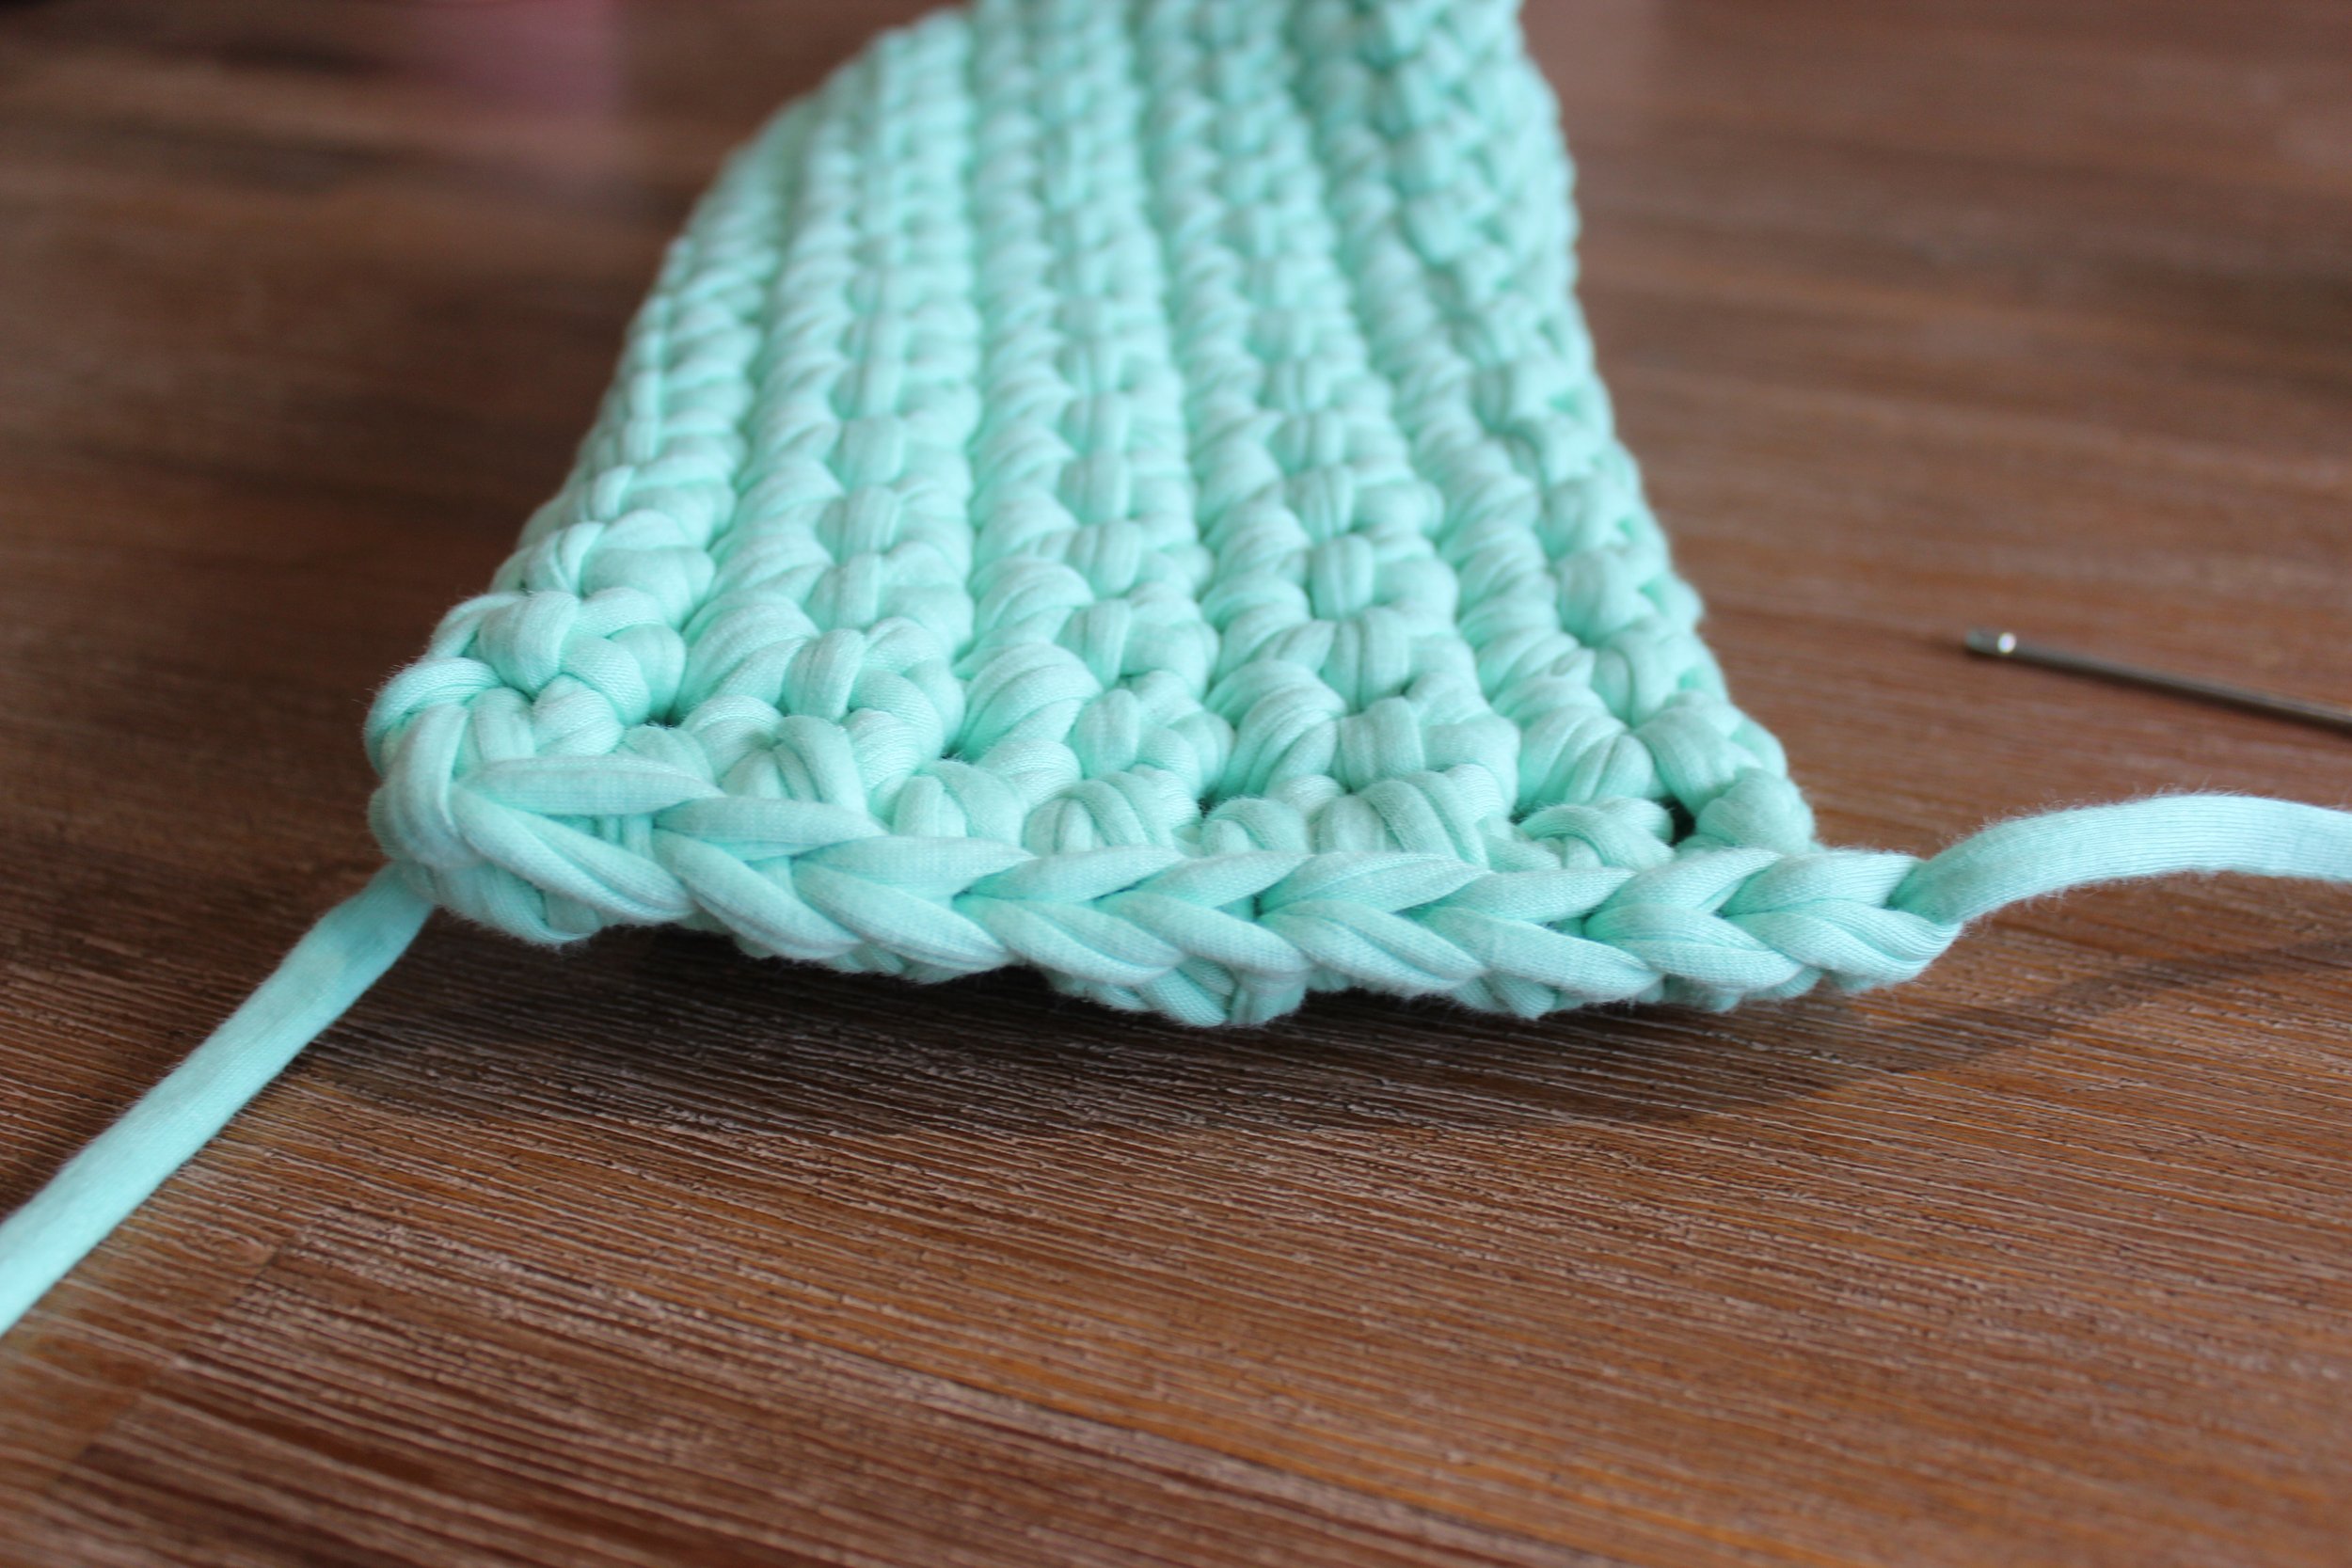
Chain 16
Row 1: DC into the second chain from the hook and DC to end. Chain 1 and turn.
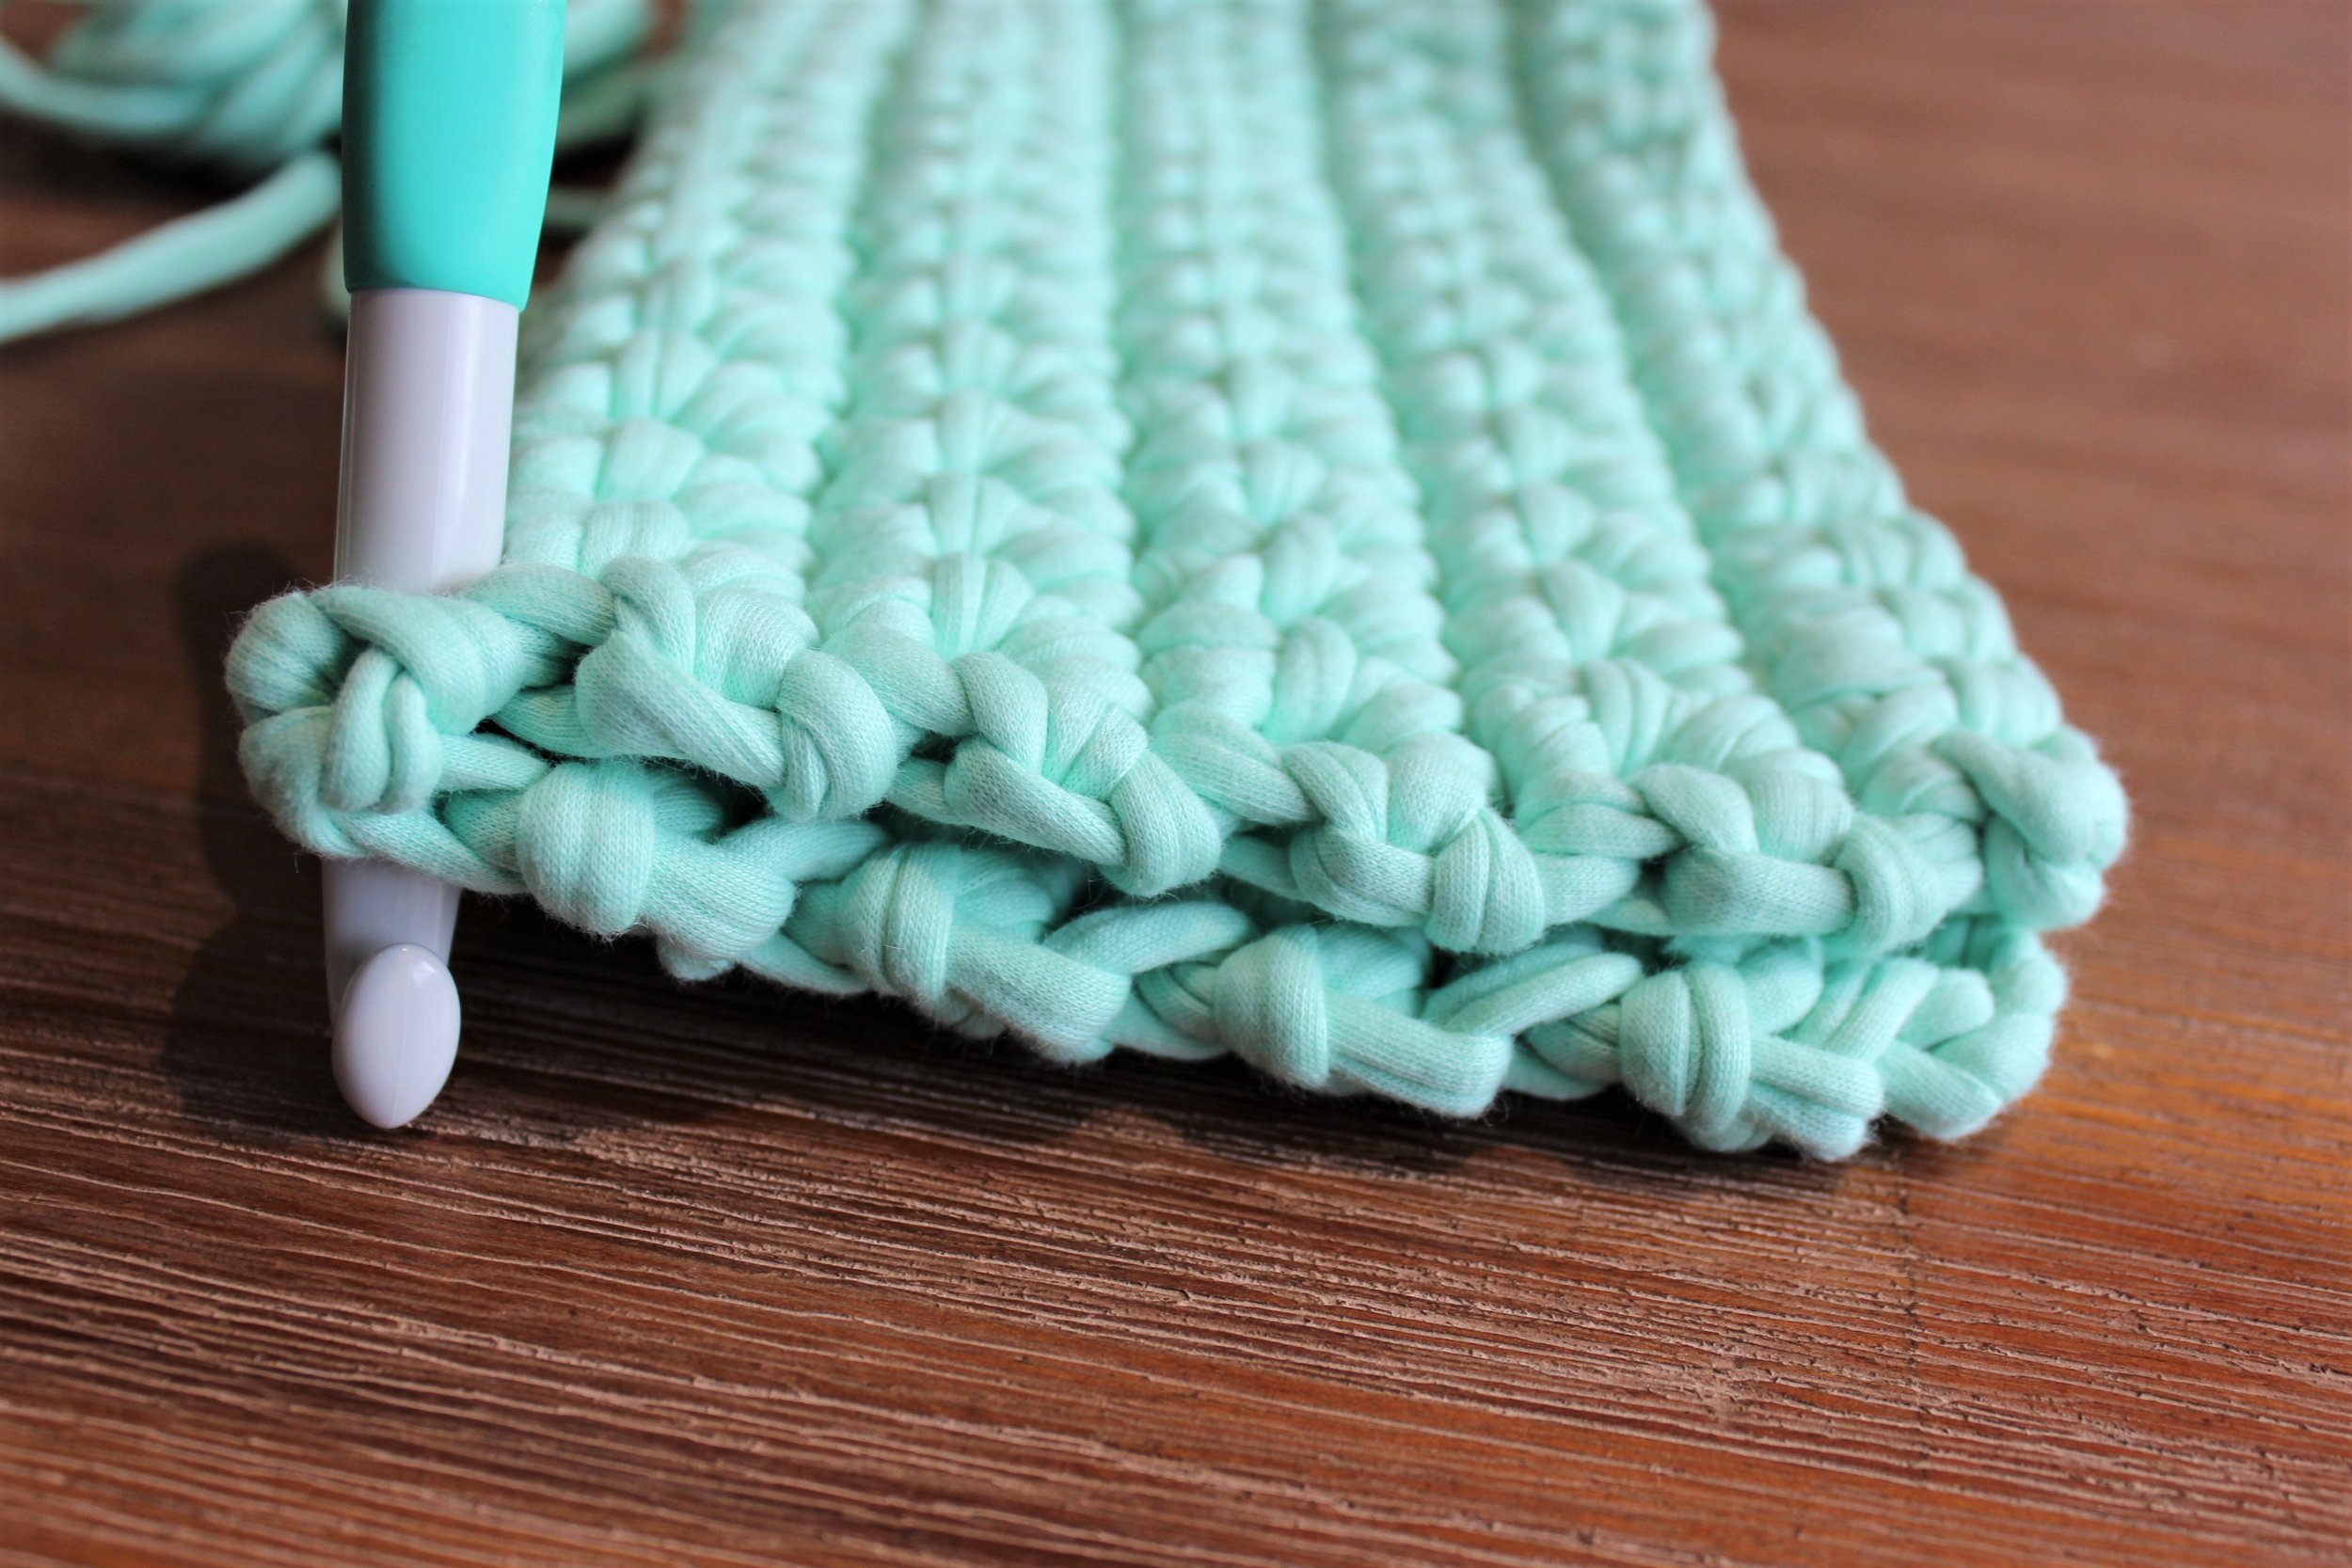
Row 2: DC in each stitch to end.
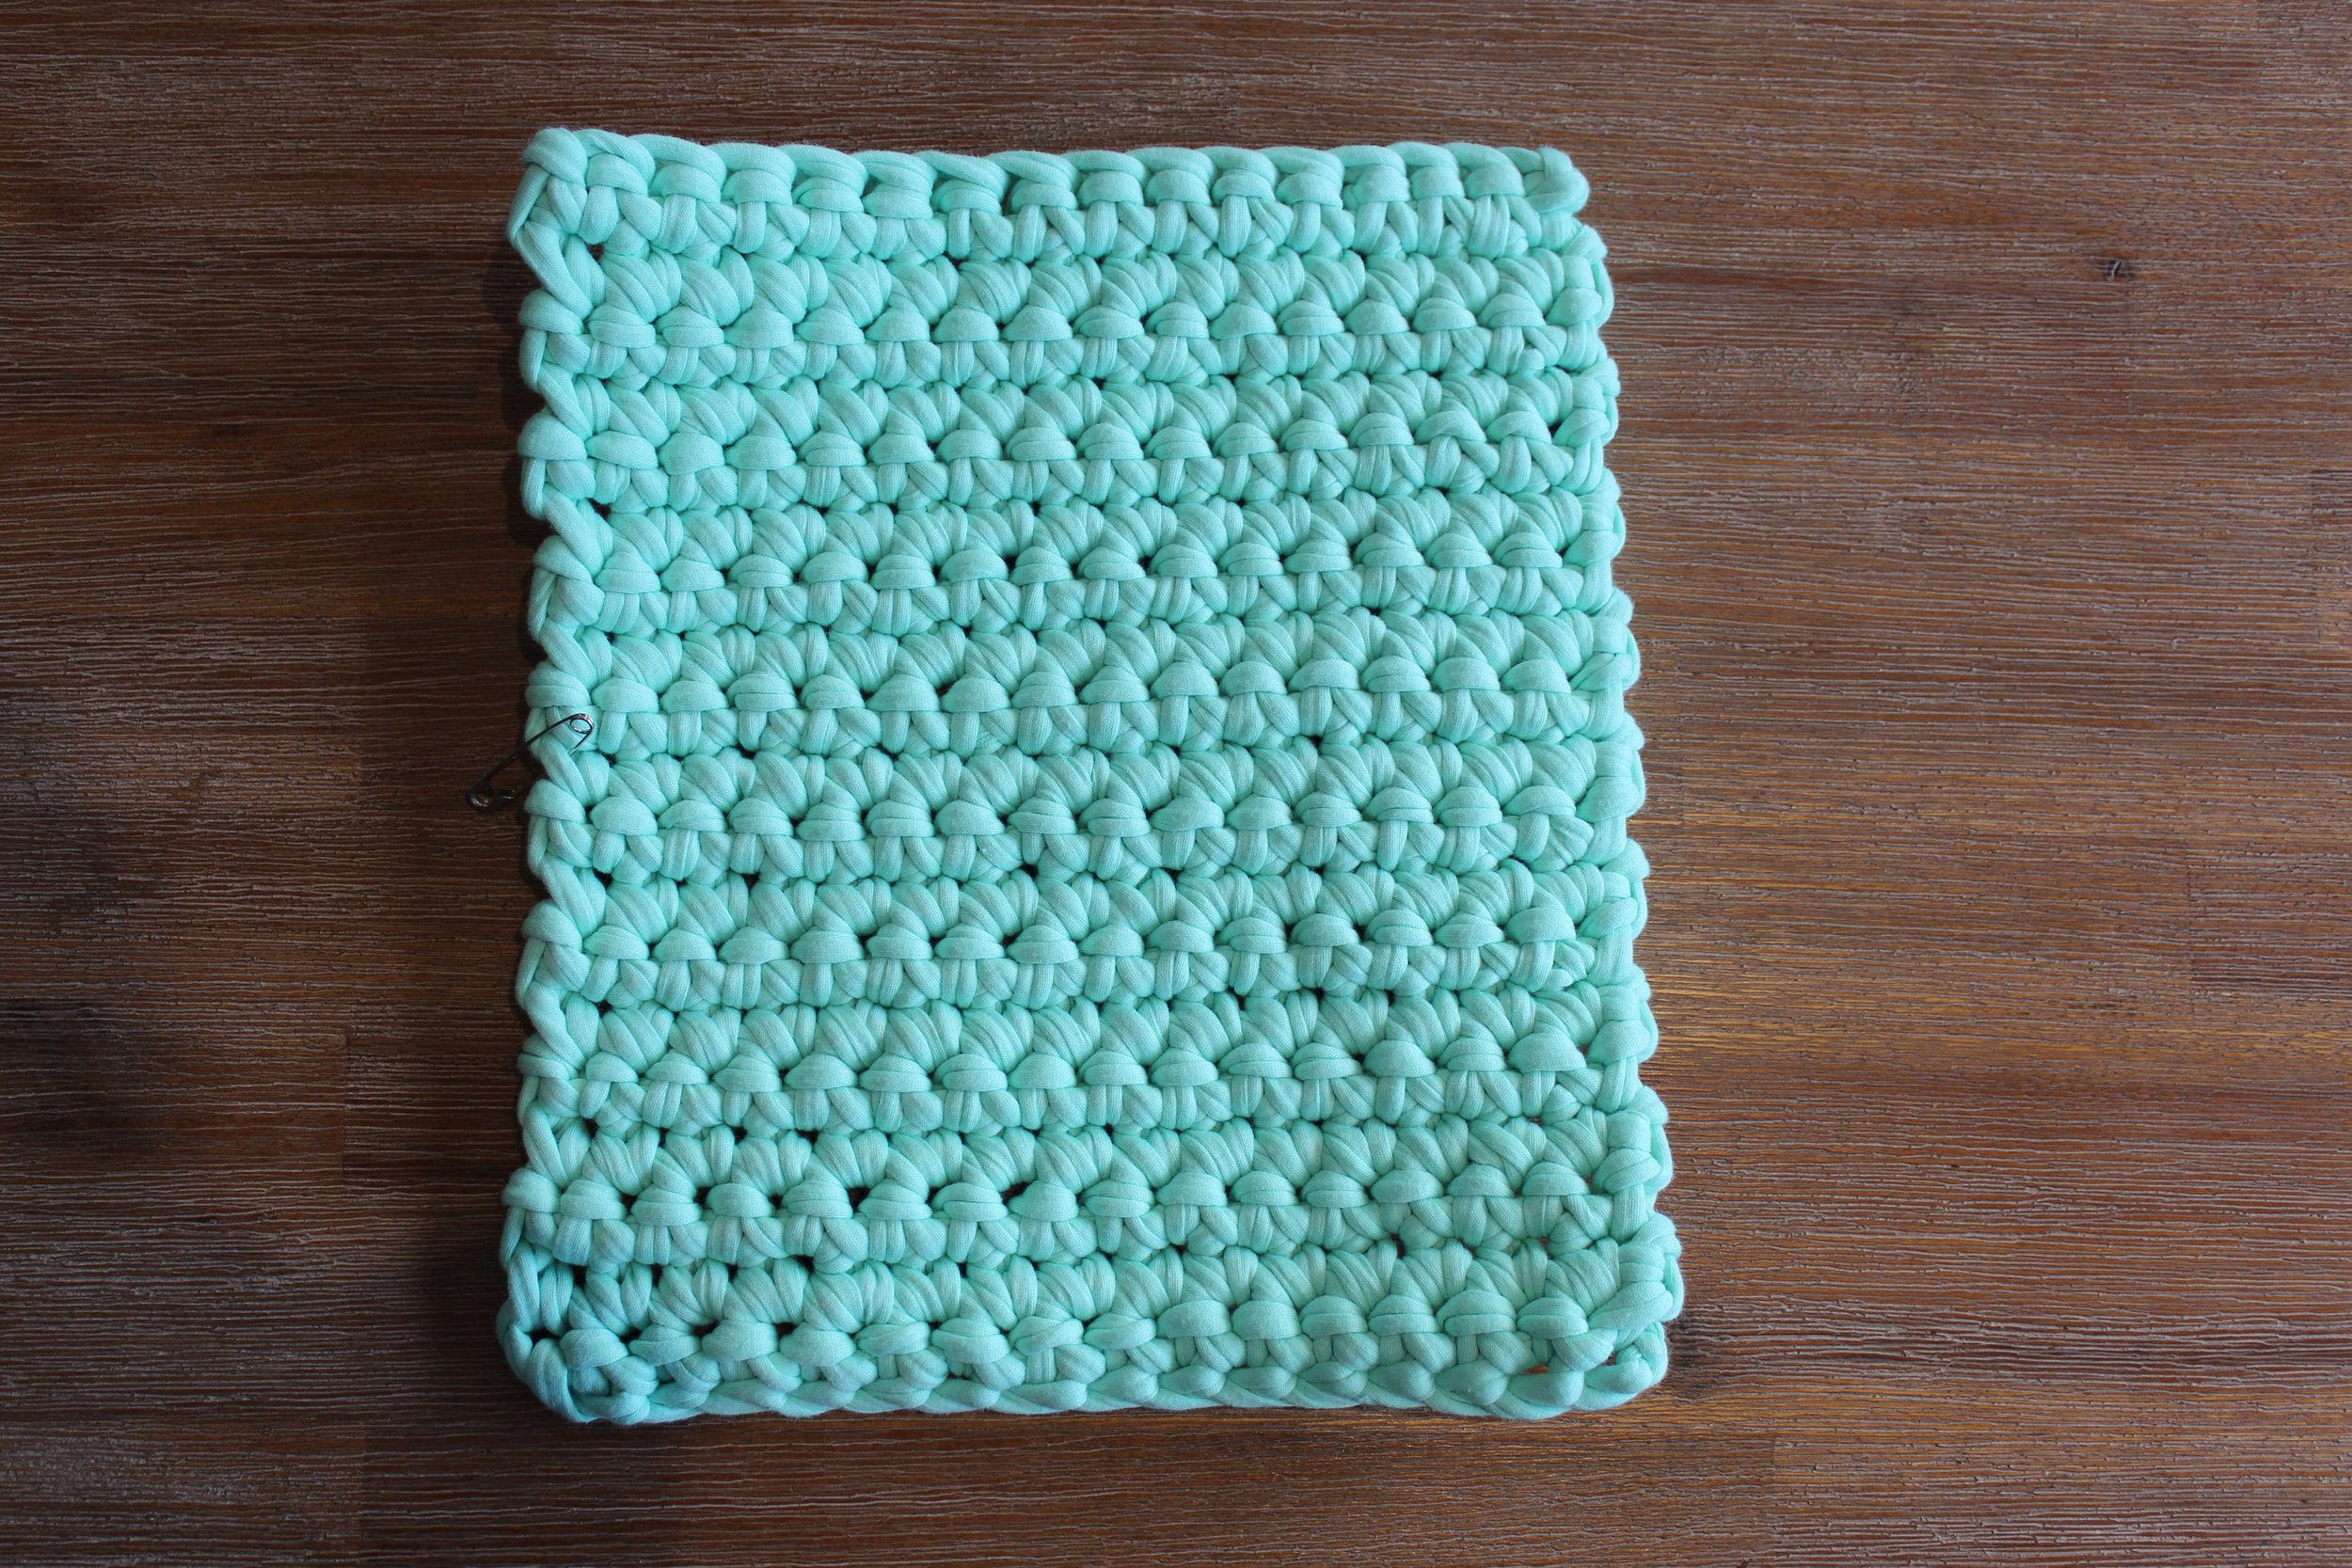
Repeat row 2 until main part of clutch is as deep as desired. My clutch is 28 rows in total. Mark your half way mark with a safety pin or stitch marker.
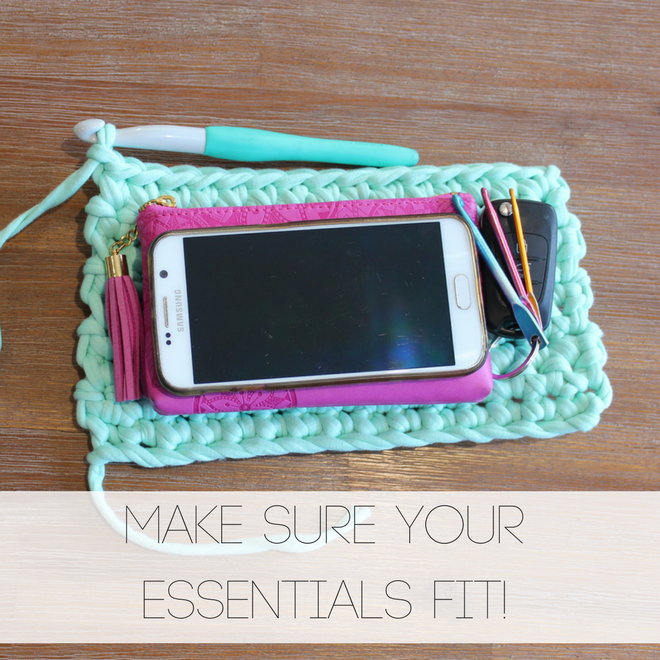
I recommend measuring your clutch with your phone/purse/cards/keys to make sure you can fit the essentials in!
Continue until you have one long piece when folded is the desired depth to fit your phone, wallet etc.
Sew in your ends with your needle.
Flap pattern:
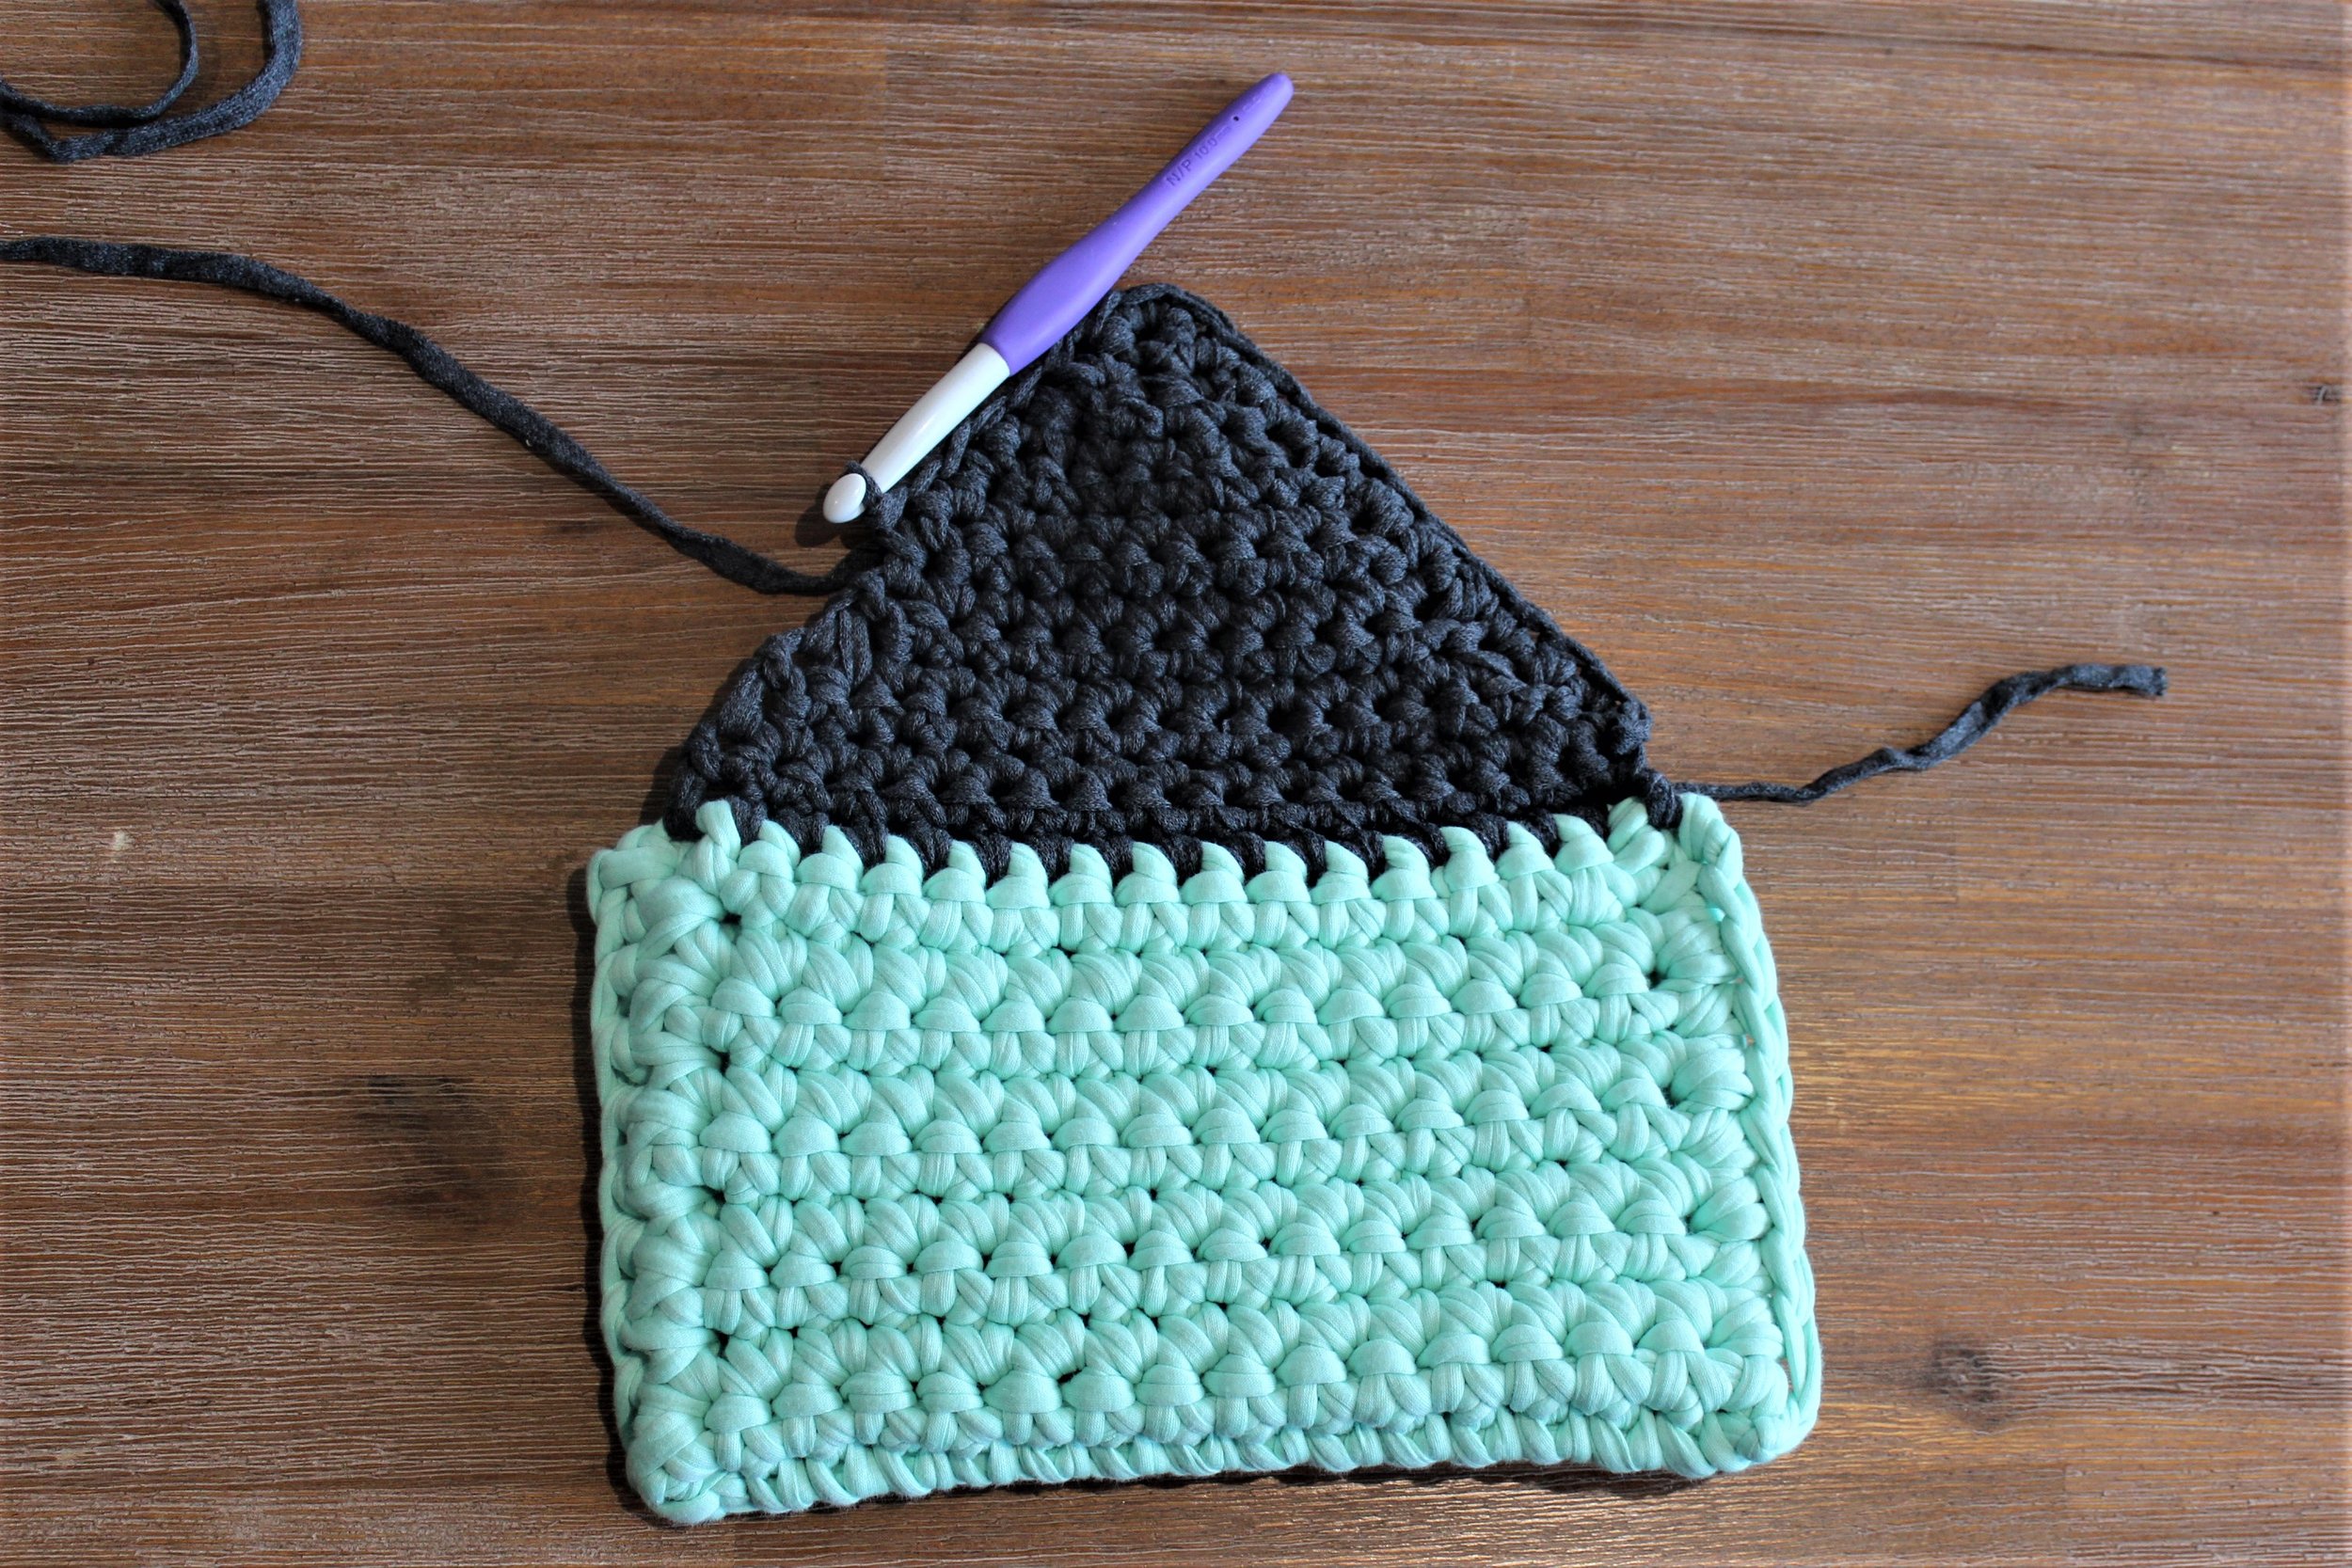
Join your yarn on the corner of your pocket. (Where you fastened off your main colour)
Row 1: DC along the top edge to end. Turn.
Row 2 & 3: DC in each stitch to end. Turn at end.
Row 4: DC2TOG, DC in each stitch to 3rd last stitch, DC2TOG in last 2 stitches. Turn
Row 5: DC2TOG, DC in each stitch to 3rd last stitch, DC2TOG in last 2 stitches. Turn
Row 6: DC in each stitch to end
Row 7: Repeat row 5 until you have 3 stitches left.
The last row must have 2 stitches to enable you to create a button hole. You could also use a magnetic clasp if you prefer that to a button. (in that case don't create a button hole.)
My flap has 13 rows, decreasing to 2 stitches where I created the button hole.
Fasten off and sew in your ends.
Attach the yarn in the same place that you started the flap and DC along the edge to create a solid line. DC3 in the space between the last two stitches at the point of the flap. This will create the button hole. DC along to the end of the flap. Fasten off and sew in the ends.
Attach your button or magnetic clasp and you are done!!
Pack in your purse, phone and keys and take it out on the town!
I hope you enjoy this pattern!


